If you’re an avid smartphone user, there's a good chance you ran into battery problems now and again, especially when you needed that battery life to look up a restaurant, post on social media, or needed to make that quick call! Apps are at the tips of our fingers. They’re ubiquitous and the good ones are wildly addicting.
But it all comes with one price– they deplete our batteries
While our phones continue to manifest our daily lives – it also requires a lot more battery life to use.
But with a basic understanding about how your apps function with your devices, you can alleviate these battery-draining functions. Let’s take a deeper look into which every day app drains battery life as well as solutions to decrease their consumption.
The wildly popular augmented reality game that utilizes a virtual map based on your physical surroundings as GPS app and phone sensors that track your moment has allowed gamers to catch the original Pokémon, battle at the gym all while getting exercise by walking through many types of terrain.
However, many players have realized that the game quickly depletes their battery. According to CNET, the team discovered that just 30 minutes of full gameplay will reduce the lifespan of the phone by 15% on average! This is one of the highest usage of battery compared to other highly consuming apps such as Facebook, Youtube and email.
Here’s a few battery saving tips for Pokémon Go
Power Saving Option
Locate and turn on Pokémon Go's power saving option. Both Android and iOS devices have this that can be toggled on. This will reduce the power needed by non-essential apps, giving Pokémon Go's power-hungry GPS and map use a little more juice.This feature can be discovered by clicking the settings icon, and will have the option to lower down the brightness of the game’s display as well as the ability to also shut off when the smartphone is facing down.So the next time when you’re walking and hunting for Pokémon, wait for the vibration to activate, and it will tell you that a Pokémon is nearby. This feature will keep your phone walking and waiting to feel a vibration which indicates a Pokémon is near, and will keep your device alive a little longer.
Use Battery Saving Apps
There are Android and iOS apps available which can further improve your battery life. Battery Doctor for iOS and JuiceDefender on Android are sure bets, both of which manage battery-draining components on your device to squeeze more power out of it.
Invest an External Chargers
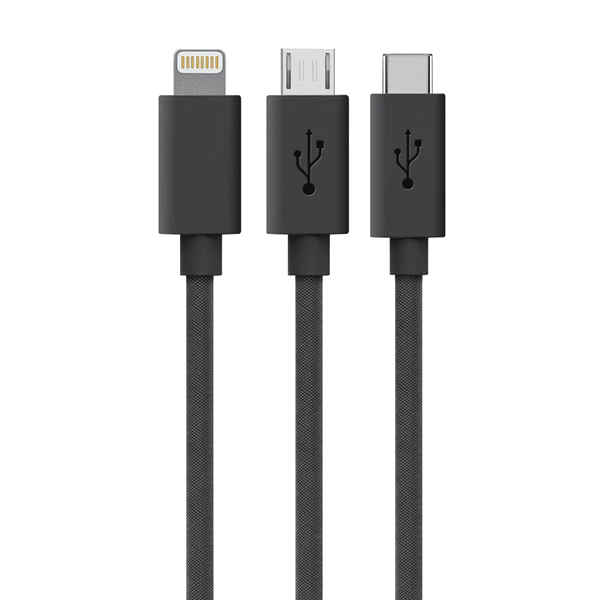
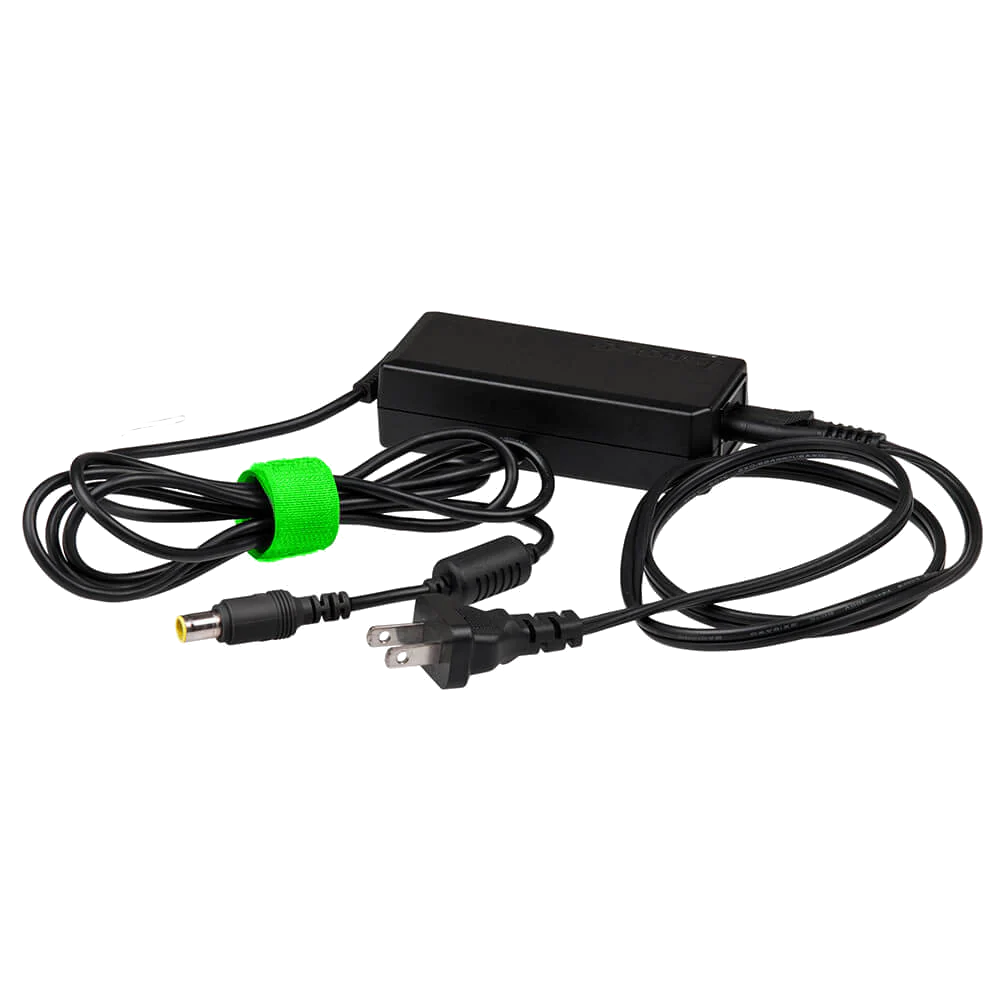
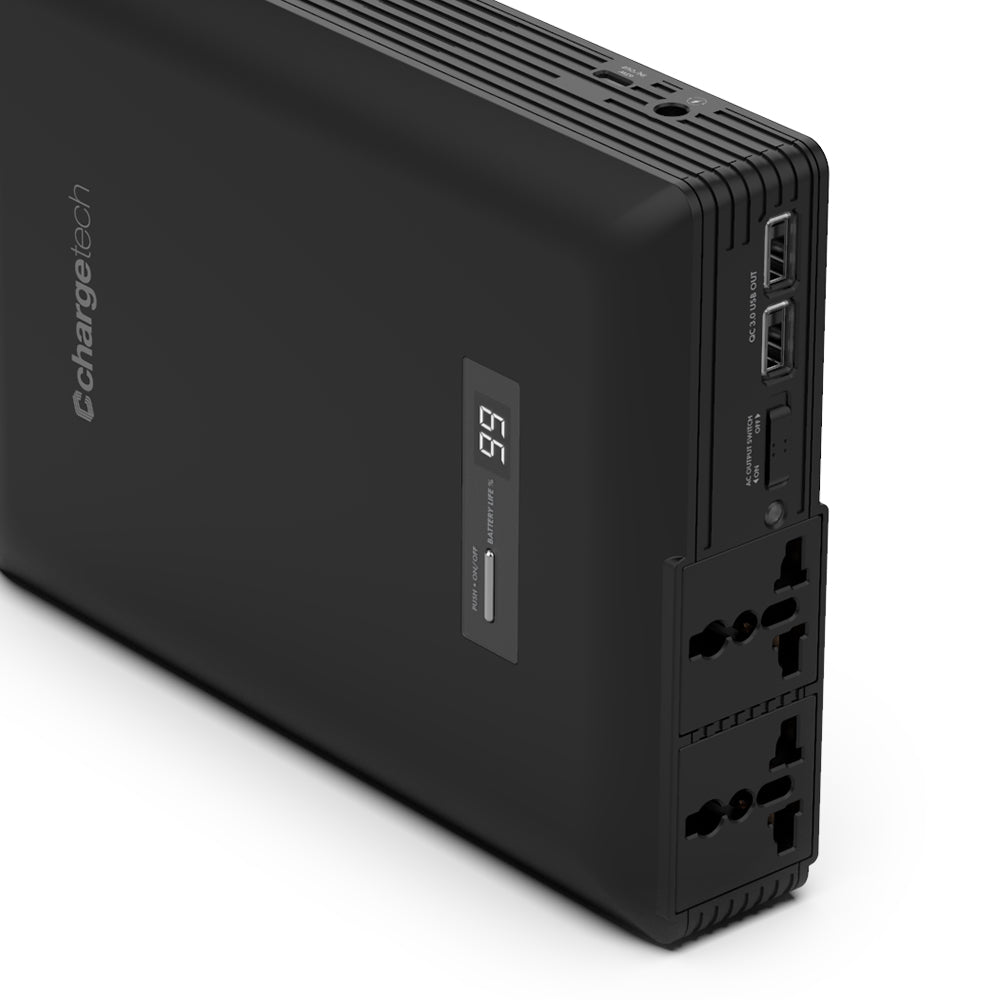
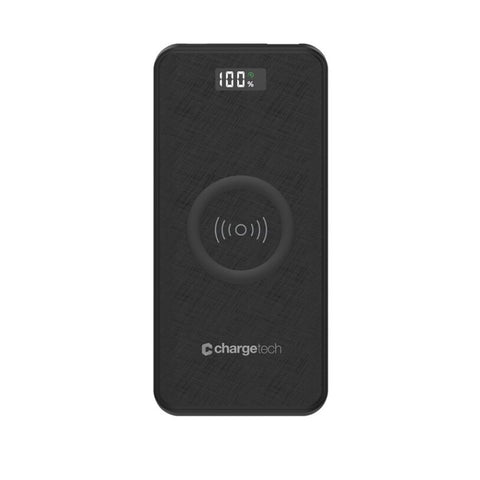
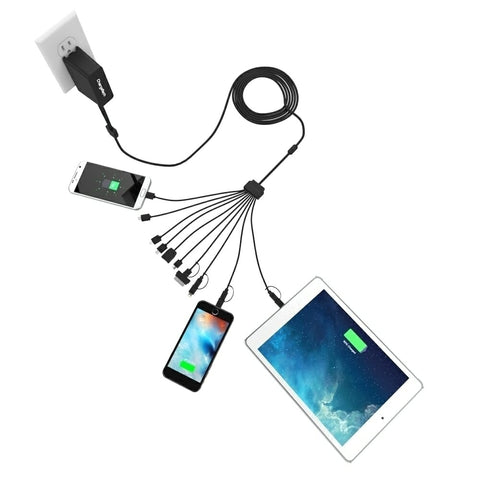
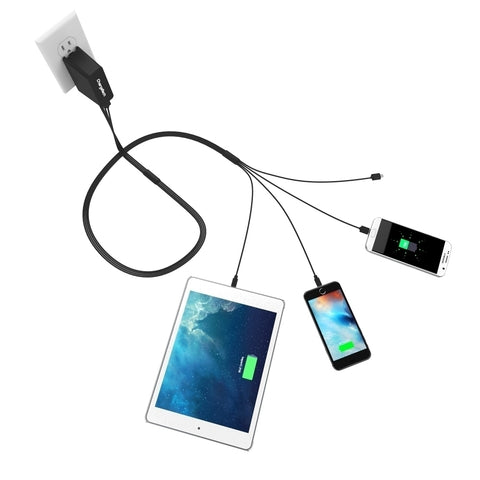
Consider equipping yourself with a battery-charging case or keep a portable power outlet with you. These products will can guarantee a 200% battery life and will keep you focused on catching Pokémon or act as a quick charge when you take a break. They’re built to keep your devices charged.
Mute The Volume Entirely
Though we love the music of the game, we recognize that silencing the game will reduce levels of energy used. Simple yet a quick solution to save battery life.
Switch off Wi-Fi, Bluetooth
Pokémon Go only requires GPS and data to play – so by disabling all the other features will help conserve battery. Otherwise the Bluetooth and Wi-Fi functions will continue to search for Bluetooth portals and Wi-Fi hotspots which is wasted energy that be used for the game.
Toggle off the AR.
The augmented reality feature of the game requires the use of your camera, which requires a great amount of power from your phone. The default background, though not as realistic, doesn’t ruin the fun factor of the game which is to try and catch a Pokémon. The AR toggle will appear in the right-hand side of the screen, and then you can switch it off.

Facebook can be one of least battery saving apps on your phone. On a default setting, videos will auto play as you are scrolling through your feed!
It’s also worthy to note that Facebook can be a huge hit against your data plan too.
According to Cisco's online VNI Services Gauge Tool, one hour of browsing through social media can use up 90 megabytes, which is more than twice the amount of data that streaming music uses in the standard "normal" quality per hour.
What that means is if you spend an hour a day on social media over a cellular network, you could be using 2.7 GB of data a month. Even half an hour of daily social media browsing could consumer 1.35 GB.What’s suspected is that plenty of the usage is likely due to the auto-play features that Facebook recently added to the app. All videos from the feed will appear at different rates based on the preferences of the Facebook user’s newsfeed.
Here’s how to turn off Autoplay Videos
- On the Facebook app, look for the More button in the lower-right corner and select Settings.
- Select Account Settings and then choose Videos and Photos.
- Hit Autoplay and then select between On Wi-Fi Connections Only or Never Autoplay Videos.

Snapchat is easily one of the worst offenders and can consume much of your internal storage even though your posts are temporary! Like Instagram, Snapchat also pre-loads Snaps so that it will appear on your newsfeed. And just like Instagram – preloading requires a lot of power and data usage.
Snapchat does have a feature to prevent pre-loaded videos. It’s coined “Travel Mode” which makes Snapchat turn off push notifications. This means that when you get a new Snapchat, your phone will not notify you with a vibrate or flashing notification; rather, you'll actually need to go back in to Snapchat to see new ones. This saves some phone battery by not needing to constantly get refreshed by your phone.
Here’s how to enable Travel Mode
- Open the Snapchat app and swipe down to see the profile screen.
- In the upper-right corner, locate and hit the Settings icon.
- Go to Manage --> toggle on “Travel Mode”.
Additionally, to use the new effects on Snapchat you'll need to enable them by going to the left-most screen, hitting the settings icon in the upper right-hand corner, choosing "Manage" under Additional Services, and enabling the ones you want. To actually use them, take your Snapchat as usual and then swipe left or right after you take the pic. To use the big text, open a text windows like normal, and then hit the big "T" in the upper right-hand corner to change the text. Then go ahead and send as normal.![]()
Likewise to Facebook, Twitter has also featured autoplay videos that need to be addressed.
Here’s how to turn off Autoplay Videos
- In the Twitter app, locate the Me button in the lower-right corner.
- At the top of your profile page, locate the gear icon and select Settings.
- In the General section, tap Data.
- Hit Video autoplayand then choose either Use Wi-Fi only or Never play videos automatically.

Instagram, today, has more features than photos. It has video, direct messages, and advertisement. Unfortunately, the videos are on Autoplay. The app today preloads videos meaning it will begin to play as soon as you spot one in your feed. What’s worse is that Instagram poorly worded the location of this setting making it difficult to turn off.
Here's where to find it
- Open Instagram, go to your profile page and open settings.
- Hit Cellular Data Use.
- Tap to turn on the toggle switch for Use Less Data.
Unfortunately toggling on the “Use Less Data” function won’t stop video from autoplaying, but will stop Instagram from preloading videos when on your cell data. Instagram stated - “with this setting enabled, videos may take longer to load over a cellular connection." Though a minor tweak, it can still serve to preserve battery life.

One great feature on Youtube is that it doesn’t autoplay videos! That’s good news for your battery and data limit! But of course we have to remember that it ONLY plays videos, which can easily eat up your battery.
Here’s one tip– Adjust the brightness
- Go to Settings > Display & Brightness – then adjust the bar to the lowest setting that’s still legible
- Enable “Auto-Brightness" which detects when to make your screen darker or brighter depending what your current lighting situations
- You can also adjust the phone’s screen lock – Setting -> General -> Auto-Lock -> and set to 1 minutes

Although it uses an incredible amounts of data, battery and processing from your smartphone, realize that it’s a huge software. Think of all the functions it manages including, uploading new maps, searching for all location information, locating your position, and grabbing details from businesses – it will cause a huge strain on your battery, but for very good reasons.
Here’s a few ways to minimize Google Maps’ battery usage
Toggle off GPS
GPS is one of the most energy consuming functions ever to exist in an app! Try having your GPS consistently for an hour – it will drain close to a quarter of the battery! There are two essential options for this feature - You can either choose to completely shut off the GPS entirely or have it limited to certain apps.Turn off location tracking
In Google Maps -> open the Settings app -> Locate Privacy, and select Location Services.Disable all Location Services and scroll down to disable every apps
To turn it off, pull down the notification shade, and you’ll see the GPS icon. Simply tap on it to enable or disable. You can also go into your device Settings, navigate to the Location options and have it turned off.
Turn off Google Access Location
If switching off GPS doesn’t help, you can choose to kill the location features completely. The only consequence of this action is that the apps or services that require this type of information to work properly will be affected, but if that doesn’t seem like an issue to you, you can proceed.Just go to your Settings >> Location and toggle it off.
Clear Google Maps’ Cache and Data
One of the ways most apps are able to function and provide their services efficiently, is because of the data locally stored as app cache. This saved data omits the need of having your phone load up similar information from the internet every time its required.The reason why Google Maps remembers nearly every place you’ve typed is because of their service to store data locally under the app cache. This saved repository will automatically fill in location information from the internet
Here’s Google’s guide on removing cache
1. Open the app.
2. Open the side menu
3. Go to Settings
4.Select About, Terms & Privacy
5. Touch Terms and Privacy
6. Touch Clear application data
7. Touch OK on the "Clear Application Data" dialogue box that appears
Downgrade Google Maps
Sometimes older versions of apps may be better for your situation especially when it comes to battery saving. However, the downside is that app may not be as reliable than the current one.To downgrade, go to Settings -> Apps ->Google Maps, and locate the Uninstall updates option under the App Info page
At first it seems strange - like who needs to check the weather all the time?
It turns out that these apps operate in the background to remain up to date with current promotions, weather updates, and email syncing. and by combining all that - you might as well kiss your battery saving goals good bye!
Here’s what you can do
- Turn off Background App Refresh (ios)
This is the master control room where you can switch off any app from running in the background.
Go into Settings –> General –> Background App Refresh–> Toggle off App
Email is one of the most used apps for our phones, but depending on how often you check your mail can cost a major toll to your phone battery. It really depends whether you decide to receive new email via "push notifications" or through fetching from mail servers. Push means that you’re constantly connected, which is amazing if you need immediate response, but is costly to the battery. Rather, try receiving it by fetching mail at intervals where you can set the frequency to see how often your phone checks email. For optimized battery life, selecting “push off” and setting your fetch interval to manual will let you manually see when you get new email.
On Email
Settings > Mail, Contacts, Calendars > Fetch New Data
Though free apps are addicting to download, many of them are ad-supported apps which burn at least a little extra battery power to download and display ads properly. From our research, we discovered that apps downloading advertisements was the fourth highest data use on our iphone! And when you're downloading data, you're also winding down your battery.
If you’re a big fan of a particular app, why suffer seeing multiple advertisements when you can easily by-pass them with a dollar or two?

Background App Refresh is an iphone setting that allows your apps to check for new data and information in the backend. This is the master control room where you can switch off any app from running in the background. The action looks so seamless it’s as if you barely even notice it. But because every app in the background is collecting information, it's slowly draining your battery even when you’re not using it. We recommend turning off this setting when you either need to take a break or charge your phone.
Here’s How To Turn off Background App Refresh
Go into Settings –> General –> Background App Refresh–> Toggle off App
Location services is an amazing feature that lets apps know where you are and can help you by providing your specific locations. The only caveat is that it uses your phone’s GPS, and we’re well aware how fast your battery will diminish.
A common practice is to close apps that use location services when not in use. Apps such as Yelp and Google Maps are notorious in constantly delivering location based information. To know when location services is active on your app, find an “arrow icon” that’s normally in the menu at the top of your screen. If you’re goal is to save battery life, removing the arrow icon is necessary.
To disable location services entirely
Go to Settings > Privacy > Location Services, and toggle off the Location Services to the off position.Action step: Now it’s your turn! Take 10 minutes and experiment with the proper tweaks to optimize your save battery preference.

